
Imagine you’re engrossed in your favorite television series when suddenly, the power cuts out. Irritating. Investing in an inverter system can liberate you from these vexing power interruptions. However, the expense of some systems can be prohibitive. Fortunately, we’re here to elucidate how to configure the most economical inverter arrangement utilizing a Suoer inverter, a 200W solar panel, a 30A charge controller, and a 20Ah battery. Ready to embark on this journey? Let’s proceed!
Why You Need an Inverter Setup
Benefits of Having an Inverter
An inverter ensures an uninterrupted power supply during outages, which is crucial for essential devices like refrigerators or medical equipment. It’s also eco-friendly, particularly when integrated with solar panels. Additionally, you’ll experience savings on energy bills over time.
Common Misconceptions
Many presume that inverter systems are intricate and exorbitant. Yet, with the correct guidance, they are neither overly complex nor excessively costly.
Components of the Cheapest Inverter Setup
Suoer Inverter
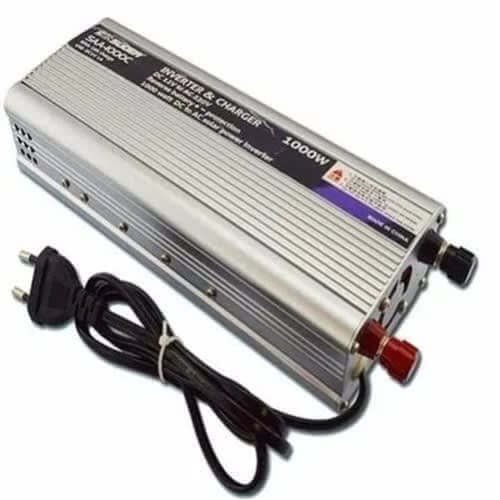
The Suoer inverter is celebrated for its efficacy and dependability. It transforms DC power from the battery into AC power for household appliances. This inverter is compact, lightweight, and straightforward to install.
Why Suoer Inverter?
It’s cost-effective and ideal for small to medium-sized homes. Its intuitive design makes it an excellent choice for novices.
200W Solar Panel
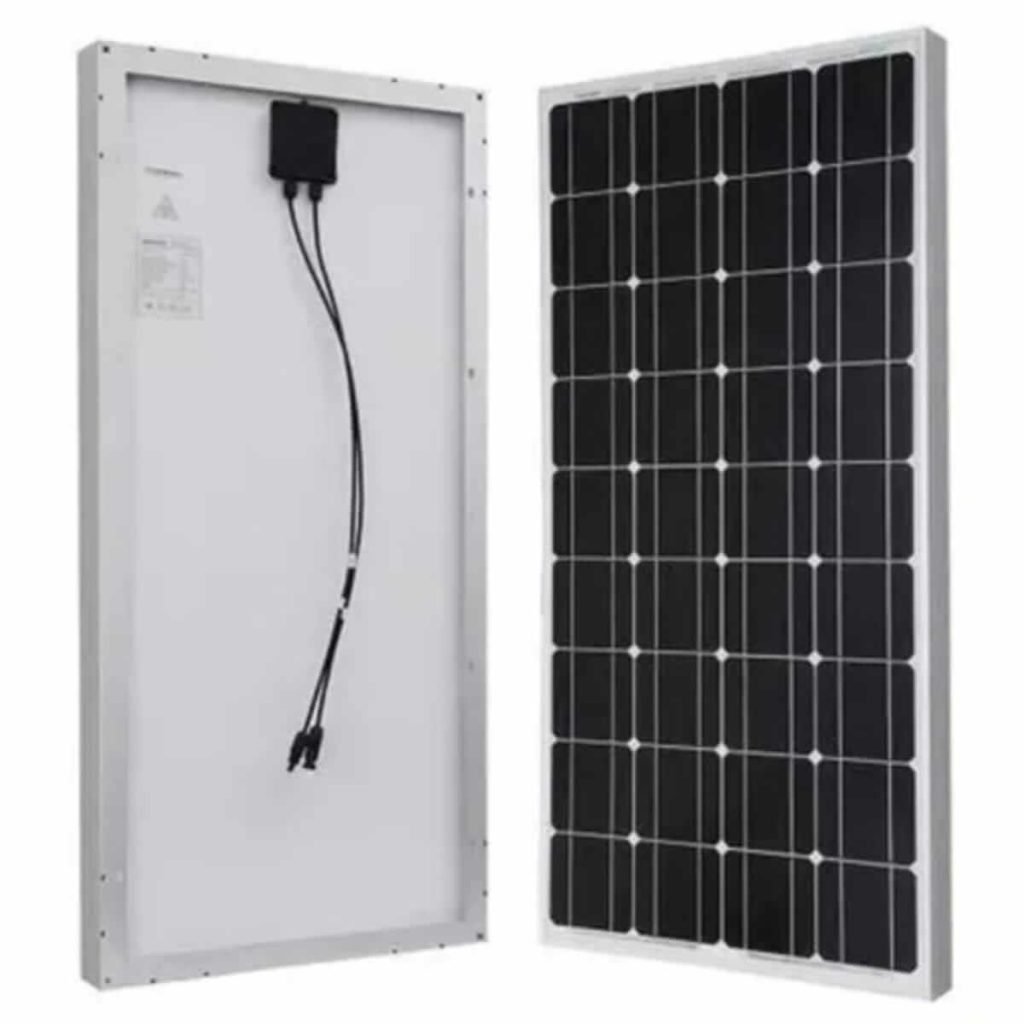
A 200W solar panel suffices for modest energy requirements. It captures sunlight and converts it into DC power, which is storable in your battery.
Why a 200W Panel?
It balances cost and power output perfectly, making it ideal for budget-conscious setups.
30A Charge Controller
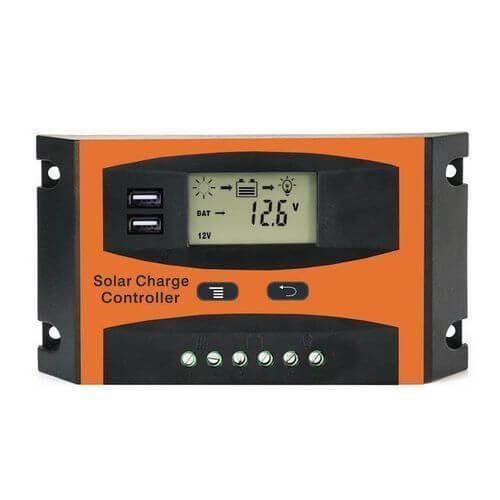
This device regulates voltage and current from the solar panels, preventing battery overcharging.
Why a 30A Charge Controller?
It ensures battery longevity and enhances system efficiency.
20Ah Battery
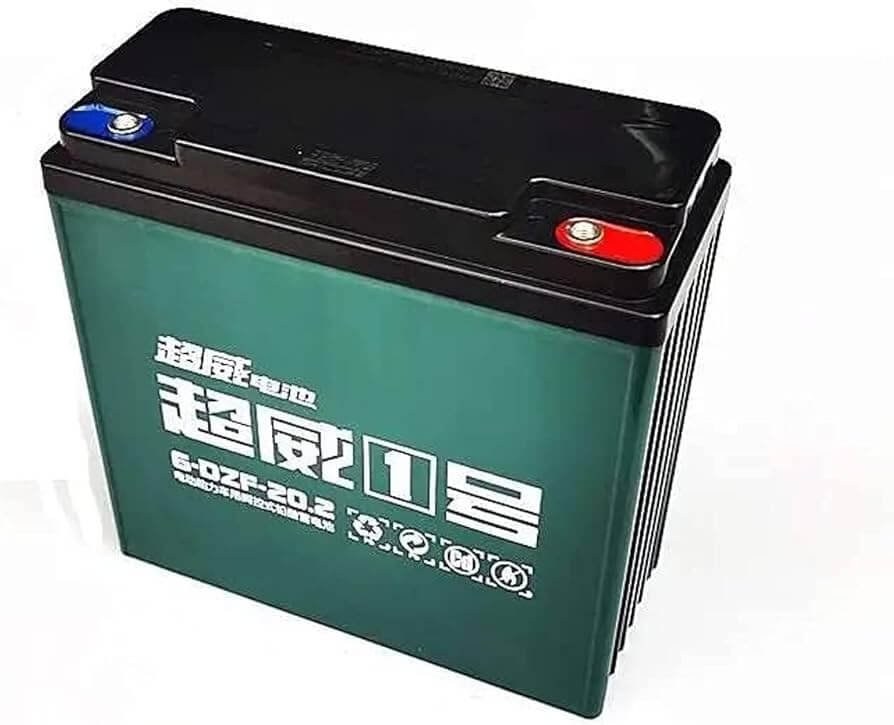
The battery stores energy generated by solar panels, providing power as needed.
Why a 20Ah Battery?
It’s affordable and offers sufficient capacity to run essential appliances for a few hours.
How to Assemble Your Inverter Setup
Step-by-Step Guide
- Connecting the InverterPlace the inverter in a dry, ventilated area. Connect it to the battery using appropriate cables, ensuring secure connections.
- Connecting the Solar PanelInstall the solar panel in a location receiving maximum sunlight. Connect it to the charge controller.
- Connecting the Charge ControllerConnect the charge controller between the solar panel and the battery to ensure the battery receives the correct power.
- Connecting the BatteryFinally, connect the battery to the charge controller. Secure all connections to prevent power loss.
Cost Breakdown
- Suoer Inverter Cost: Typically, N30,000-N40,000.
- 200W Solar Panel Cost: Generally, N50,000-N70,000.
- 30A Charge Controller Cost: Usually, N20,000-N25,000
- 20Ah Battery Cost: Around N10,000-N15,000.
Altogether, you can establish this system for approximately $200-$350.
Maintenance Tips
- Regular Checks: Inspect all connections regularly to ensure they are secure and free of corrosion.
- Cleaning the Solar Panels: Keep panels clean to capture maximum sunlight. A simple wipe with a damp cloth can make a significant difference.
- Monitoring the Battery: Keep an eye on your battery’s charge level, ensuring it’s not overcharging or completely depleting.
Conclusion
Setting up the most economical inverter system for your home is simpler and more affordable than you might anticipate. With the Suoer inverter, a 200W solar panel, a 30A charge controller, and a 20Ah battery, you can guarantee a reliable power supply without excessive expenditure. This setup is not only cost-effective but also environmentally friendly and easy to maintain. So, why delay? Begin your DIY project today and relish uninterrupted power!
FAQs
- How long does a 20Ah battery last? It depends on the load. For small appliances like LED lights or fans, it can last several hours.
- Can I add more solar panels to this setup? Yes, you can expand your system by adding more solar panels, ensuring your charge controller can handle the increased load.
- Is it safe to install this inverter setup myself? Yes, as long as you follow instructions carefully and take necessary safety precautions.
- What appliances can I run on this setup? You can run small appliances like lights, fans, and chargers. For larger appliances, you may need a bigger battery or inverter.
- How do I troubleshoot common issues? Regularly check connections, ensure panels are clean, and monitor the battery’s health. For specific issues, refer to the user manuals of your components.
This article aims to serve as a comprehensive, engaging, and easy-to-follow resource for setting up an affordable inverter system at home. Check at our Shop Page to get all you need to Set up.
